We are happy to announce that we now have reserved seating! This means that patrons can choose where they want to sit when purchasing tickets online and box office managers can assign seats over the phone or at the door. If patrons change their minds on where they want to sit, it’s simple to change their seating assignments.
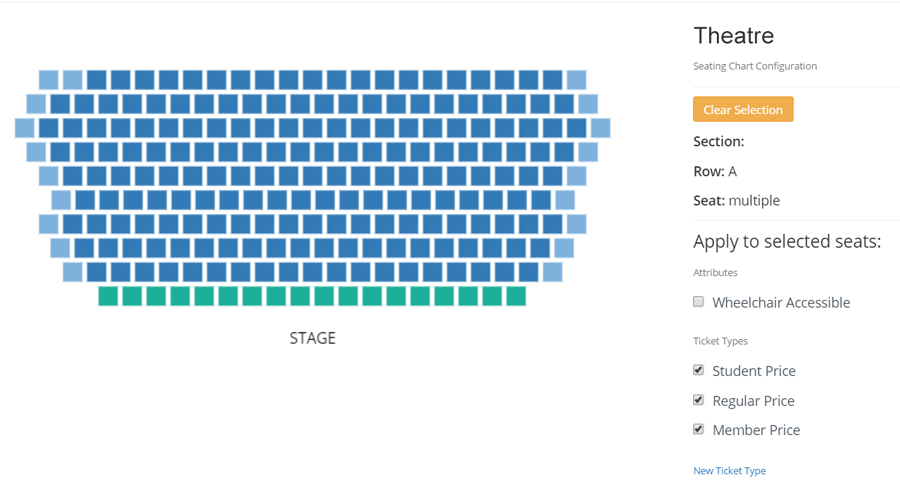
To set up reserved seating, send us an email with your seating chart. We will create and upload your chart to your dashboard. Once it’s uploaded, you can create attributes and ticket types. Select the seats and check the boxes on the right to assign them to your seating sections. These settings can be changed at any time. (Don’t worry, we will walk you through this process.)
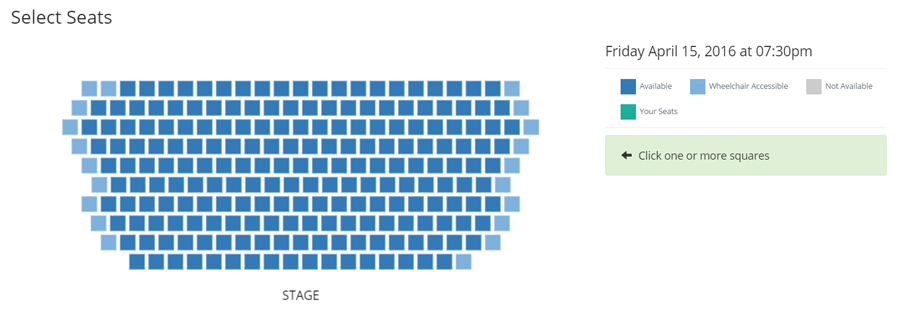
After your seating is set up, your patrons will see your seating chart and will be able to choose their seats. Instructions are given on the right of the page to let patrons know what seats are available and how to select seats.
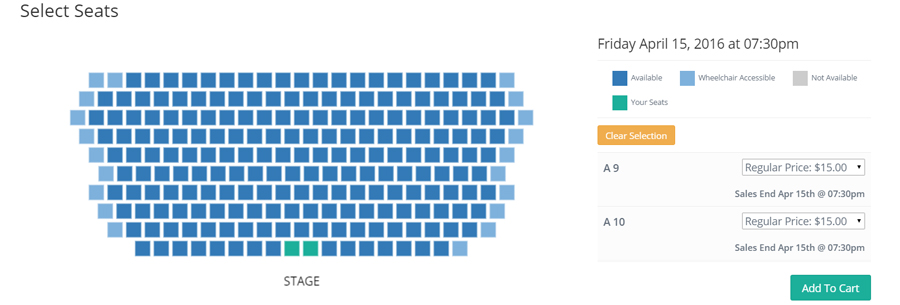
Once a seat is selected, it will turn green and the row and seat number will be displayed on the right. If you have created multiple ticket types (student tickets, senior tickets, etc.) they can be selected from the drop down menu.
 After your patrons make a purchase, the row and seat number will be on their print at home and mobile tickets as well as in your attendee list.
Reserved seating has been one of our most requested features. We hope that this helps you sell more tickets to your events. If you have any questions or want to get started, shoot us an email at [email protected].


